Showing posts with label Tutorial. Show all posts

Monday, October 27, 2014

Snap Laundry Tabs

Sometimes necessity is literally the mother of invention.
In this case I've been madly sewing newborn diapers and as such I have been using lots of hook and loop tape. (Also known as Velcro) but the downside is that the loop piece is always shorter than I need and I run out two or three diapers in just before I get to the laundry tabs.

I also have an abundance of snaps since even with a snap down rise my newborn diapers just don't use nearly as many snaps as a batch of OS diapers.

So behold the snap laundry tab.

Basically sew your Velcro wing tabs as usual. Then fold over as if you were closing them to Velcro laundry tabs.

Using your awl force it through both parts of the wing. Do this just above and below the center of the Velcro piece.

Next attach your snaps. I recommend putting the larger male snap half on the area next to the Velcro, and the female shorter piece on the section further in the diaper. This way the smoother part is against your baby's skin.

Wha la snap laundry tabs!

Friday, October 10, 2014

Top Stitching a Diaper and Sewing Elastics

In the cloth diaper sewing group I'm in on facebook, we were asked how we all do our elastics. I seem to be in the minority who sews elastics in when they do top stitching. She asked if I could take pictures and I decided to make a little tutorial on how I did it.
It would be easier to show you in a video but we seem to have lost the charger to the digital camera I use for that. And since I don't have a way to mount my cell phone to my head hopefully this will do.

First note my diaper is turned right side out and waiting on elastics. This is a pocket so will have back elastic and leg elastic on both sides.

 
mark your elastics per your pattern. I use a washable crayon. 

 
Pin your back elastic on the marks. I leave about 1/4 inch extra beyond the pins.  This is it without any other pins all bunched up.

 
Stretched out.  Now with the diaper stretched use your fingers to move the elastic up against your seam allowance. And place a pin directly underneath. repeat across till the pin hold the elastic in place. Check to make sure you aren't pinning the elastic by accident.

 
I lifted the pocket opening to try to show you how this looks inside. It's hard to see but the elastic is not pinned to the diaper but is held in place by the pins if that makes sense. 

 
All pinned in place.

 
Repeat the pinning at the elastic caking marks for the leg. 

 
I use my knees and hold one wing with them, then use one hand to stretch the diaper out and the other to place my pins. you're doing the same thing where you push the elastic into the seam allowance, and pin just below it. 

 
Here's the leg all pinned and ready to sew. 

 
You can sort of see that the pins are not right against the edge. You'll be sewing in the area of fabric on your pins. 

 
One leg done. 

 
Repeat on other side and you are ready to sew. 


Ok so I start at the back elastic tacking mark and sew down, reverse, then back down tacking it in place. 

 
Pivot and sew across the pinned area. I'm bad and sew over my pins, but you can definitely remove them as you sew just make sure to pull your fabric taught so the elastic stays where it is pinned and to sew slowly.
Sew across the area of fabric my finger is pointing to.


Showing the stitching so you can see where I'm talking about sewing. 

 
Go back up the next tack mark, forward, then back again, turn and pivot the diaper and carry on top stitching ...

 
around the wings and to your leg elastic.  

 
Turn your diaper again and tack your elastic down. I sew in reverse once then back forward. 

 
Pivot back and sew along your pin area again. 


I was trying to get a good photo of my needle plate so you could see where I'm sewing. I think that's the 6/8th mark. 

 
Diaper slightly stretched so you can see the finished leg. I forgot to take a photo of the other end of the leg elastic. But it's the same process. So you just pivot and tack the elastic down then continue top stitching around the front of the diaper. 

 
Other side has been reached. So I tack the elastic down, reverse, and forward, then follow the same process of sewing on the pinned area. around the 6/8th mark.

 
Reached the last elastic marking. tack down, reverse,

 
and go forward, then continue top stitching... 

 
Till you reach your starting point with the elastic tack mark on the back of the diaper.  Finish your threads how you like and clip them, now all that's left is your snaps or velcro on the wings and you are set.


Hope that makes sense!

Friday, November 22, 2013

Apple Cider in the Coffee Maker

It's been nearly a MONTH since I posted last. So I thought I'd do a quick one with a new "life hack" I've discovered. Perhaps this is not news to anyone else but It was to me so I wanted to share.


Backstory:

We no longer have a microwave. I accidentally nuked the 'wave for 20minutes with nothing in it and it fried. So we decided to go without one and see what happens. I really only used it for two things anyway and both were easily remedied.

Then Fall happened. In the south our winters aren't super cold but they are windy and wet. And this year has been no exception. I saw R.W. Knudson's Cider& Spice, No sugar added, 100% juice and knew it would be fabulous.
But then, wait, no microwave to heat it in! And I don't own a tea kettle(I know that is definitely going on my "to buy" list now)!!!!
So I had to come up with some easy way to warm just a little up at a time.


And since necessity is the mother of invention....

How to Warm Cider in a Coffee Maker

I'm trying to get with the times. Pinable images. ;)
First Pour your desired amount of cider into your carafe.
 Next remove the basket where your coffee filter/grounds goes.
This is what it looks like Empty :) You can see the top of the carafe through the hole in the top of the coffee maker.
 Place the carafe on the coffee makers warming plate.
 Turn on, wait about 5-10 minutes, swirl to mix spices in and serve!

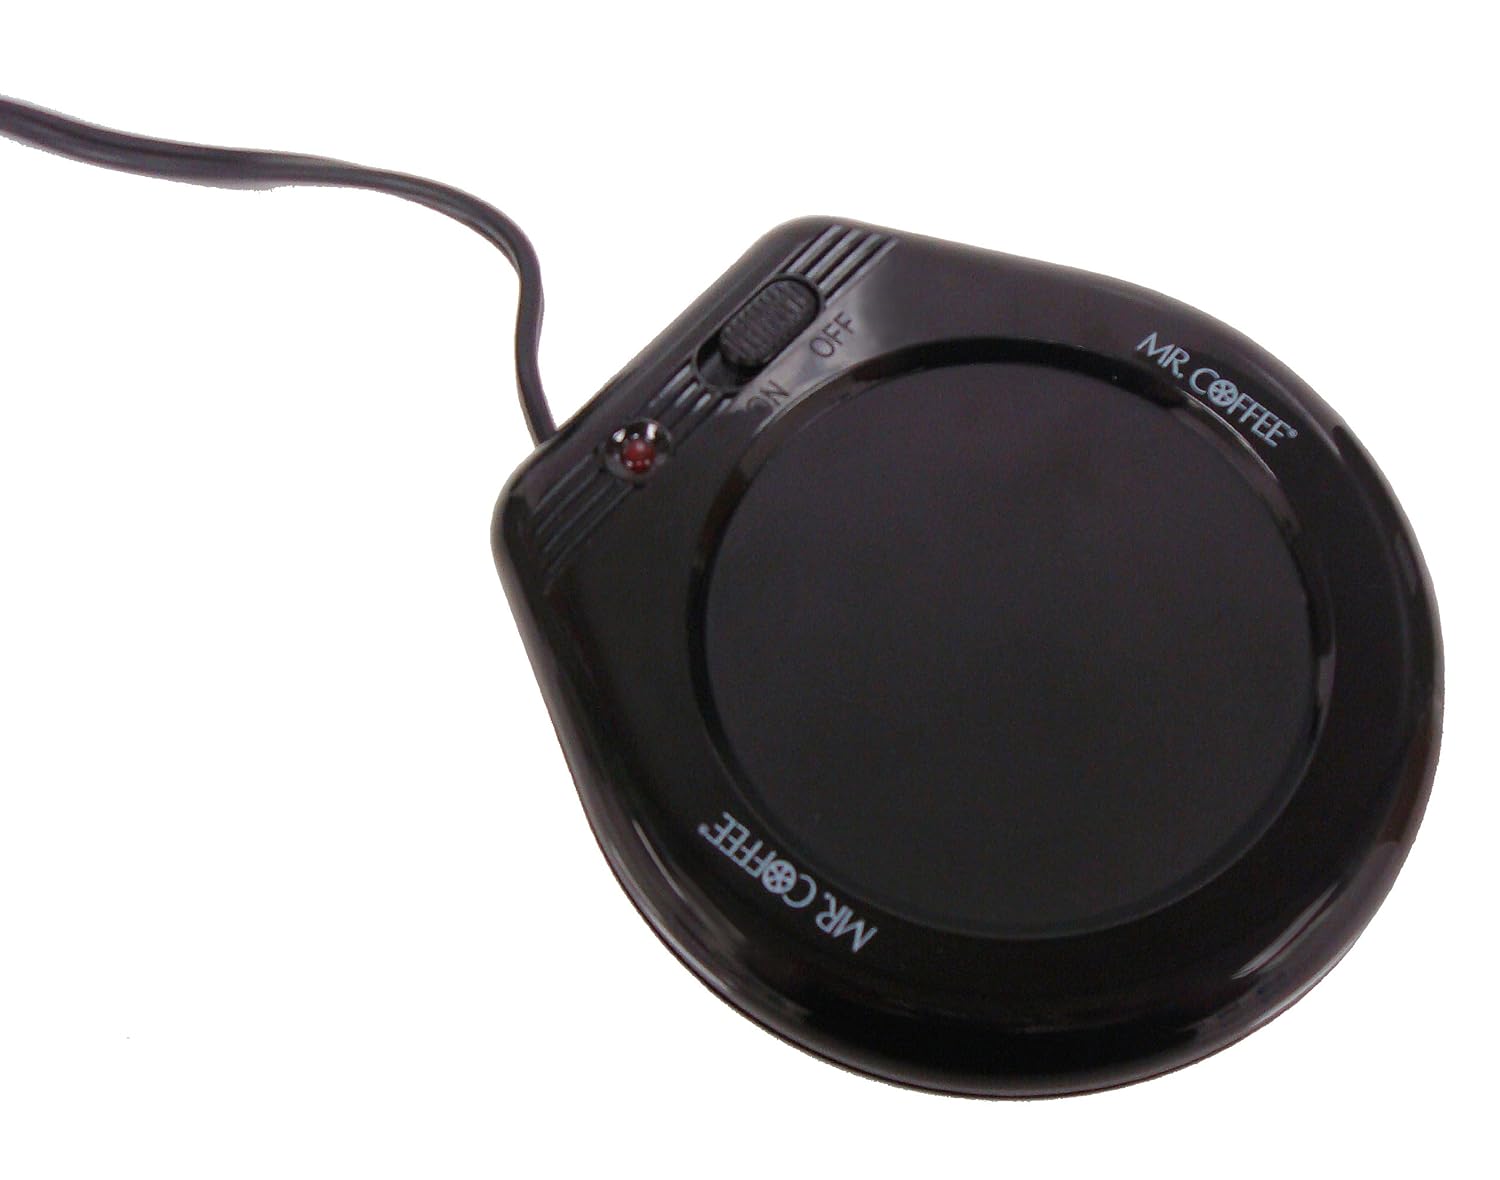
 Easy peasy! Essentially you COULD use a coffee/soup warmer like one of these:
Click here to find this model which I have and love. But I found that these do better for keeping hot things warm not warming cold things up. ;) and I like how much faster my coffee maker works!

Wednesday, July 4, 2012

Super Easy Ruffle Tutorial


First I have to give credit where it is due this is NOT my idea. I got the idea from the lovely taeliac on deviant art. And had always thought "I'll try that next time."

Well I told hubby it's one of those situations where I kept putting off trying it and now that I've tried it I am kicking myself for not doing so sooner. What was I waiting for?

Anywho the time came for me to try ruffles again. I hate them. They take forever and on a knit which is what I'm using for my current project I swear they are a nightmare. You always hear "oh it's SOOooo easy!" *scoff* Yeah right. You work at them for hours only to find once they are sewn on your thread broke somewhere in the process and half your fabric is no longer ruffled. Or the thread doesn't gather no matter what you do.

Well those problems are now things of the past. Here's what you need:

Set your sewing machine to the biggest 2 step zig-zag it has. A two step zig-zag looks like this: 
See the third row of stitches? That's a 2 step. The second row is a three step and is NOT what you want. Image credit

Now place your fabric under your presserfoot, and lay your crochet thread on top. Leave a tail a few inches sticking off the edge of the fabric. Place the thread right in the center of the presserfoot.

Now simply zig zag over this thread. Do NOT sew through it. Go slowly and carefully and this should be fine. I guide the thread with my thumb as I'm sewing.
When you get to the end leave another tail of a few inches. Your stitches will look like this if you've followed my directions. 
See how the stitches end up on either side of the thread? That's what you want. Ok now insert a pin in one end of the fabric and wind your thread tails around it like so:

Then simply pull the Crochet cotton Thread on the other end and it will ruffle!

Tie your end that the pin was in once you have ruffled your desired amount. Spread your ruffles evenly and tie off the end you pulled to ruffle. Pin and place and sew on!

 Wha la! It actually took me longer to make this tutorial than make a ruffle in real  life. TRY IT! 


Next time I'll hopefully be showing you what I was working on. :) and have a new tutorial for you soon!


Tuesday, June 19, 2012

Slipcovers for kids chairs


I was given(upon my asking for it) a small kids chair for sweetness. 
The previous owners where not careful with it and it had seen better days. But I just knew sweetness would love a chair all her own.

(It looks nasty but I assure you its, just marker and dirt. Nothing icky. And it's been cleaned.)

I decided to make two slipcovers for it. That way when she'd spitup, drooled on it, or her diaper leaked,  it could be washed.
Now I've never slip covered anything before. But I refuse to let lack of experience dictate my crafty mojo. So I went through my fabric stash, and pulled out a swath of blue fleece and started at it.
I read a few blog entries on slipcovering, and I've watched enough hgtv to know if someone with barely any skills can make a slipcover for a sectional sofa then surely I could do so for a miniature chair.
I started with the seat and draped, and pinned.then hacked at the fabric with scissors.  Next the front of the arms, then the top and sides, the front if the back and last the back.
Next basting so I could remove the pins and the cover from the chair and take it to the sewing machine.


(BTW I did trim that left corner to match the right. I took the picture before that though. )
After sewing up all my basted stitches it's not bad for a first try! My next one will be a little more planned and  made from a cloth backed tablecloth so I can wipe it clean.(or hose off if need be. lol) But for now it's functional and not bad for my first try with no pattern! 
 
I can't wait for Sweetness to wake from her nap and see it! She's going to love it! 

Monday, May 14, 2012

Keurig Refill Experiments


I was given a keurig Mini for my birthday this year by my in laws. It was a joint gift and I love it! However what I don't love is the lack of decaff coffee options, and the pricetag on the coffee. 
 I love the idea of refill-able filters for it but had heard and seen horrible reviews for them. I also loved the idea of refilling my old plastic K-cups. I saw some tips on pinterest on doing this and decided to experiment. 

First I started with refilling the old K-cups. I removed the foil top, dumped out the coffee and rinsed thoroughly. Then I let them dry overnight. The next day I added my own coffee to the dry k-cups. I filled to about 1/4 of an inch from the top of the kcup. Then I sealed the top with Glad brand Press n' Seal.

 This was my first one and I didn't seal the edges very well. I cut the press n seal to short on one side. This resulted in a few grounds in my coffee. But not even 1/2 a tsp worth. My old coffee pot was worse than that. 
BUT! I knew I could do better. So the next one I want more careful and it looks like this:

I smoothed the plastic out before I used them. Here's what they looked like used:

One on the right was the one that leaked grounds. The one on the left didn't leak anything. Worked perfectly.

However I found one of those refillable filters for 12.00 at Publix and really wanted to try it. I'd heard the same thing about them getting grounds in your coffee and producing a weak cup. Well I figured it couldn't get any worse. So I splurged and honestly it took some tweeking but I got a decent cup of coffee and no grounds in my coffee. :)

I didn't rinse the lid when I took it out. :P Anywho, It has these 3 parts. You are supposed to put a filter just inside the dark peice and then screw the cap on. Well First time around I got strong coffee with a LOT of grounds. But I rechecked my directions and I came up with a plan.
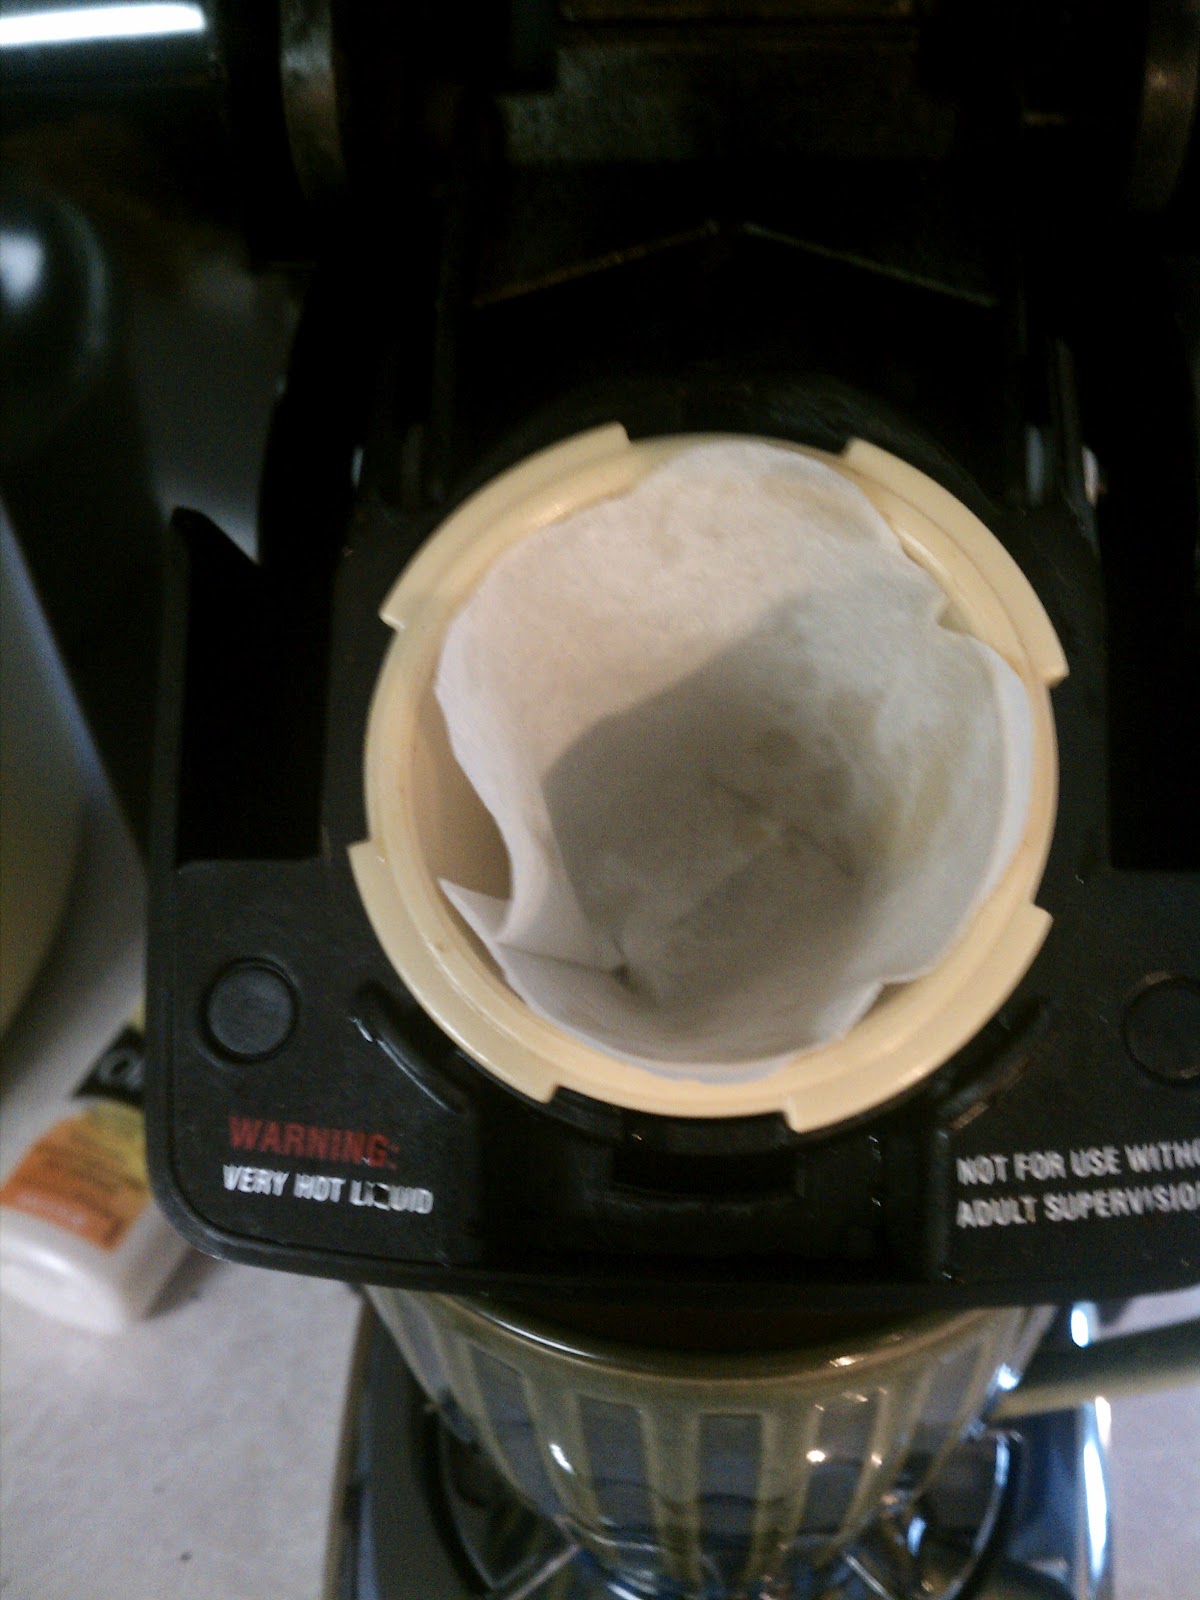
First I put a filter inside the tan piece:

then snapped the dark piece inside like it is supposed to go and added a filter in there too.  
   
NExt The directions indicated that one should make sure the edges get laid flat on the plastic edge. I think this is so once you add the grounds, the lid can hold it in place and prevent the grounds from getting in the coffee. So I did that:

And Wha-La! My yummy cup of mostly cream cause that's how I like it coffee with no grounds in it!


I have a new way to enjoy all my yummy decaff coffee and can still use my keurig with the little K cups if I want to.

Hope this info helps someone else!