Hopefully it goes without saying but please do not make items from this tutorial to sell online. I don't mind if you sell them in your locall area but you must give credit to me for the idea. My blog url would be acceptable. This tutorial may not be copied or sold in any manner. all the pictures and text are copyrighted to me, Bethany Hall as of October 2011.
So since having Norrie I've been breastfeeding. the benefits are great for her and me. (lower risk of breast cancer for the win!)
The only downside? Like pregnancy clothing nursing/breastfeeding tops are super expensive! I'm sorry but 40.00 and up is ridiculous and highway robbery. So I took matters into my own hands and I want to share so we can all have inexpensive but cute nursing shirts!


Materials:
2 t-shirts. One should be the size you wear and one should be slightly bigger. I used two juniors OP "elbow sleeve" shirts from wal*mart. The bottom main shirt is a large and the one I cut up is an xl.
Wash and dry them. That finish in the shirts is awful and makes the finished product less stretchy.
- A washable fabric marker(felt tipped works best)
- Ruler or tape measure
- Pins
- Scissors
- (not pictured) Thread in the main color on your shirt. I used white.


Mark about 1.5 inches from the side seam on each side.


This is where you should be at.

Now start pinning at the top. I line the raw long edge of the panel up with the wide stripe just below the neckline. For a non striped shirt you will start just below the neckline. Make sure to turn the raw edge under just a bit as you pin.

repeat on the sides.


In the case of knit shirts I'd say more pins are better. It helps prevent the fabric from slipping and stretching to much during sewing.


You want ball point sewing needles. Use the orange band. Ball points won't tear the knit fabric.


Tension should be fairly tight.
Now we can start sewing!

Hold your top thread tight for your first few stitches. This makes sure the machine is sewing at even tension. Also don't pull your fabric as you sew. If you do this with a knit it will stretch and warp. Let the machine pull the fabric through on it's own. Just guide it with your hands.
Start sewing at the bottom of one of the sides, work up the side, across the top, then down the other side.
Start sewing at the bottom of one of the sides, work up the side, across the top, then down the other side.

To turn a corner stop with the needle in the down position.

Lift the presser foot. The lever on the back of my machine is up to lift the presser foot.


Lever down and so is the presserfoot. Sew the rest of the fabric.


And cut in the middle.

Stitches on the shirt. :)
Remove your pins.


Then clip close to the knot. Repeat on the other side.
Remember the holes you cut in the bottom shirt? Now we're going to finish the edges, technically you don't have to but it will prevent them from stretching out too much. Feel free to stop at this step.
Just make sure to wash your shirt before you iron it. If you iron it the marker marks won't come out. Wash it first. :)


Make sure to turn your corner and then come down the opposite side of the hole.


Follow he same procedure for the opposite opening.
And you're done!
And you're done! Nursing bras are ugly maybe one day I'll tackle those...
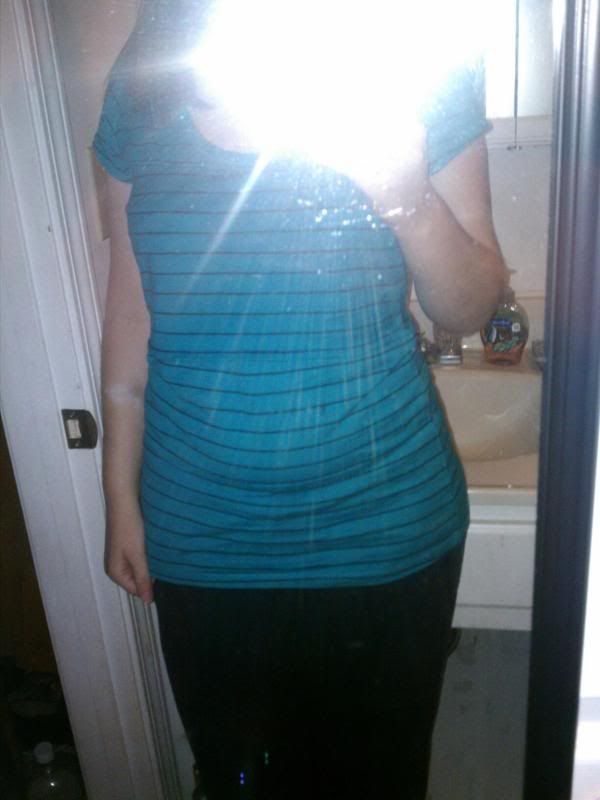
The best part about this shirt is you can make it with long or short sleeves. And for very cheap! The two shirts I used for this tutorial cost about 5.00 each. Same for the blue one in the bottom pictures.
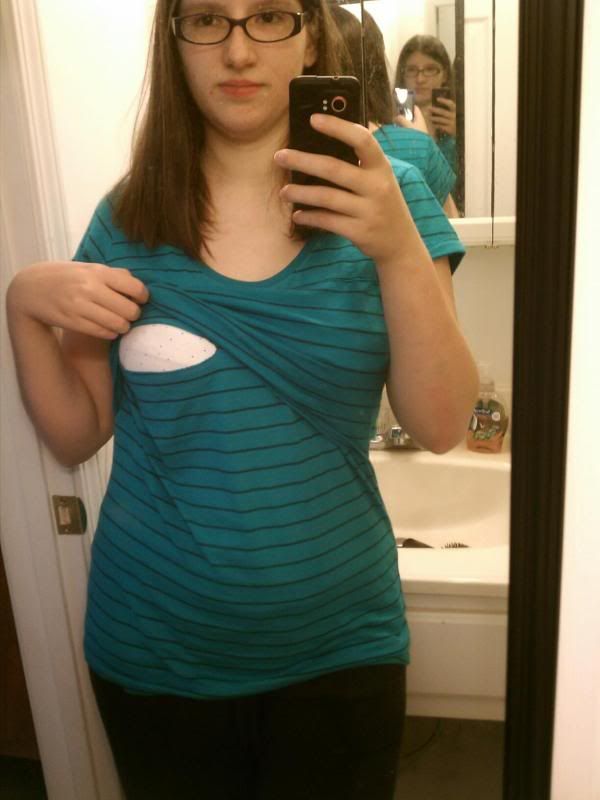
To Nurse simple unclip the nursing bra, and lift up the front flap. The openings should be right across the breast with the nipple fairly close to the middle.
Easy peasy!
No comments:
Post a Comment