After all the frustration I keep seeing with ends and having them come out I've been working on this tutorial for awhile. I am posting it both on Craftster and my blog jsut to make sure it doesn't disappear. :)
Sorry it took so long the project I meant to use as the entire example was not working out and had to be frogged. So anyways here it is finally!
How to Crochet over Ends:
1.) First lay the two ends next to each other on top of your work. I crochet right handed so simply reverse the direction if you are left handed.
2.) Pick up the new yarn with your hook as if you were going to make your next stitch normally.
3.) Here you can see the working yarn in between my fingers at the top of the picture and the old ends on the bottom:
4.) Insert your hook into the top of the next stitch your ends should be on top of the previous row of stitches. (I'm doing a double crochet)

5.) Here's the same step from another angle:
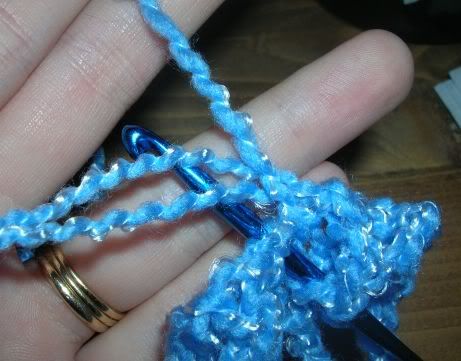
I'm holding the working yarn in my first and second fingers and the ends with my thumb against my palm.
6.) Complete your stitch as if the ends are the top of the stitch you crocheted into instead of seperate. (i'm not sure if this makes sense or not.)
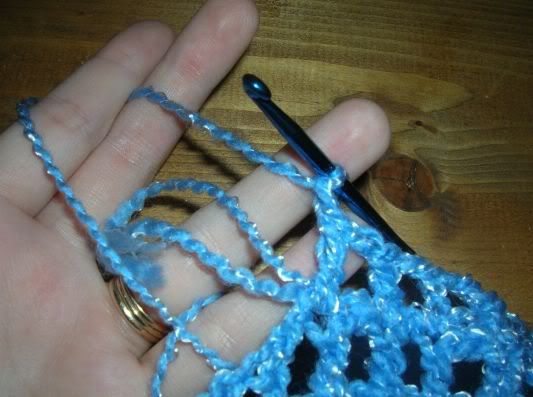
7.) Repeat steps 4-6 for a few stitches I typically do about 3 or 4. Next ignore the tails and crochet normally. You may have to move them out of the way.
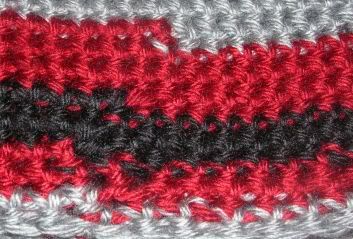
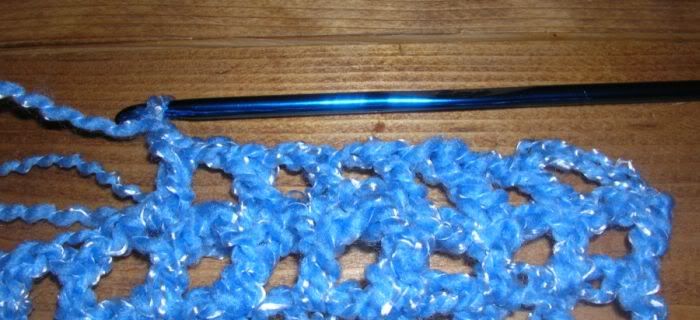
Front of row:
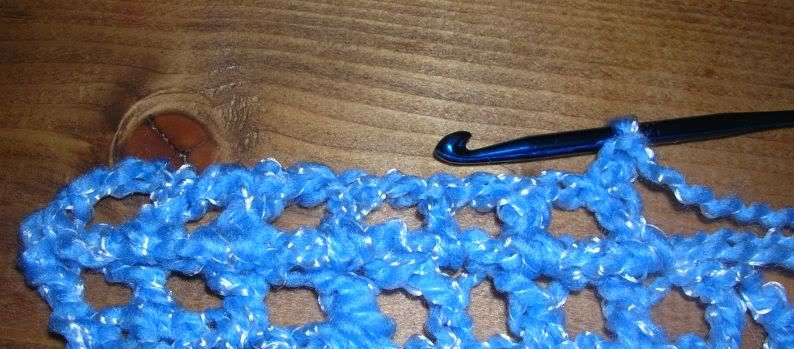
Back of row:
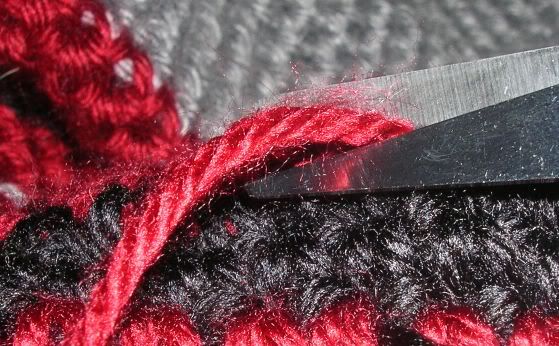
Give your ends a light tug to pull them tight. Then clip close to stitch.
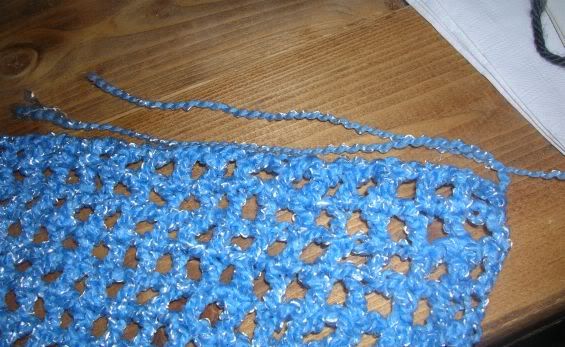
If you don't feel this is enough security (like myself) then proceed to next tutorial...
Weaving in Ends:
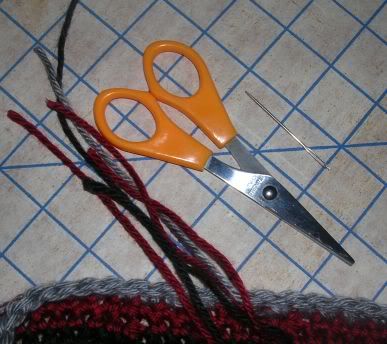
1.) Supplies:
- Large eye needle,
- Ends to weave in,
- And scissors
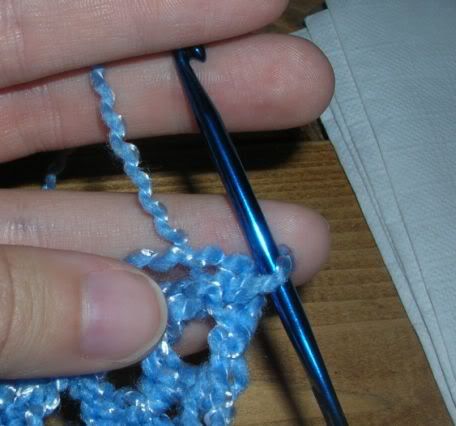
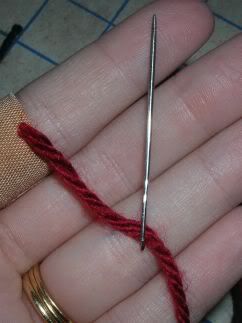
2.) Thread end through needle:
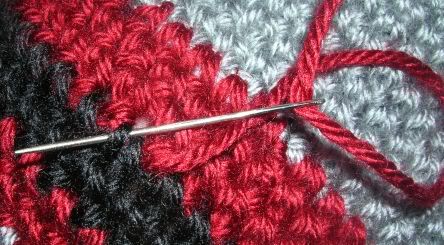
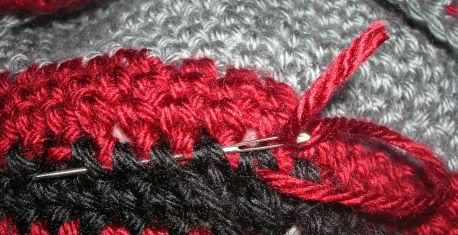
3.) Insert the needle under the "v's" (stitches). I usually go under about 3-5 stitches. (I'm working from left to right.)

4.) You will see the end coming out of one stitch to the right of the needle. you are now going to weave back the opposite direction. Examine your stitches for a minute. Your stitches form little "V's". Think of each side of the V as a leg of the stitch. Now skip the first leg of the next stitch, on the left side. You should see that this is the stitch right next to your end. Insert your hook under the next leg.
5.) Weave under the next 3-4 stitches in the opposite direction.
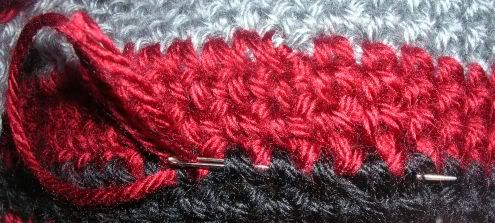
6.) Repeat steps 4- 5 once more:
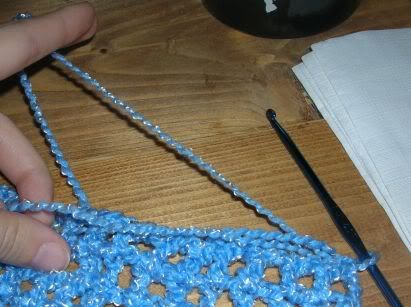
Clip ends close to stitches:
Stretch the crocheted piece just a bit.
back:
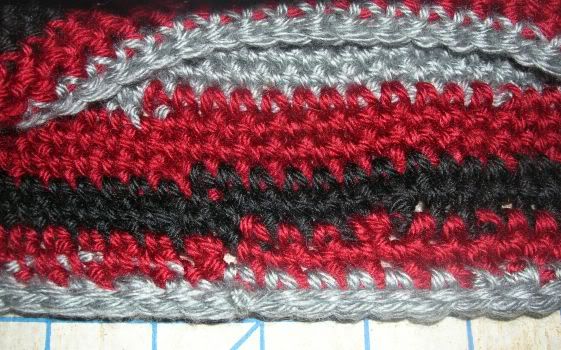
Front: